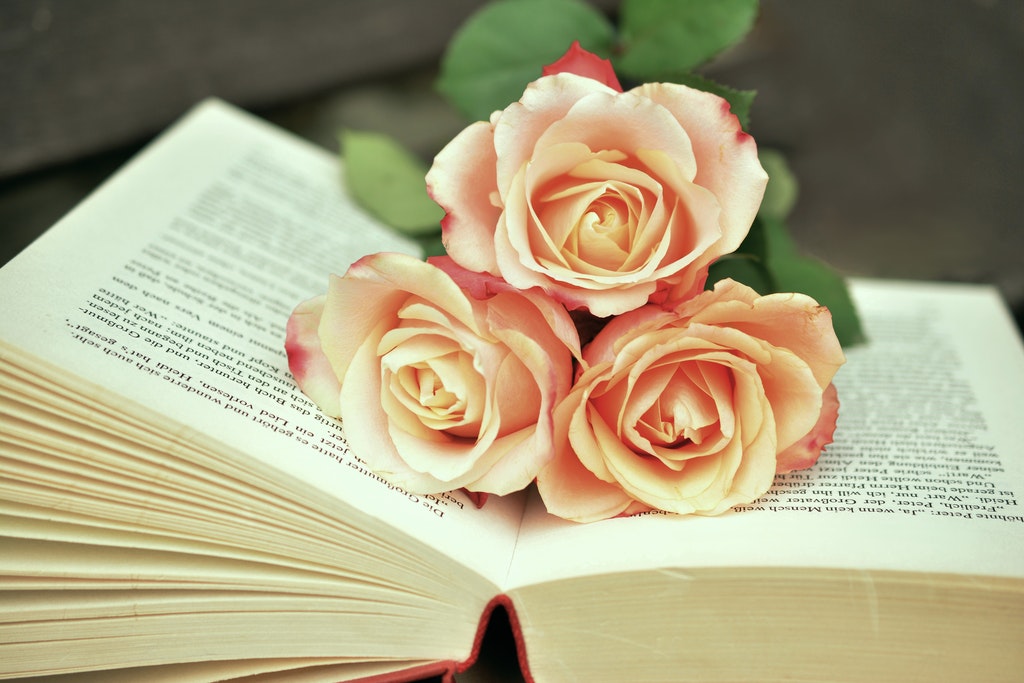
Vibrant flowers are a welcome addition to any home. However, fresh flowers only last for a few days, even if you frequently change the water. Instead, for a fun twist on this timeless decor, consider making a DIY paper bouquet!
Paper flowers are easy to customize to your liking. Can’t find blush dahlias in store, but love the look of this summer flower? Make your own! You can pull in the different colors found in your home into your bouquets. They make great additions to end tables, entryways, kitchen counters, and anywhere you want a pop of color.
Instructions for Your DIY Paper Bouquet
For most paper flower tutorials, all you’ll need is some cardstock or crepe paper, scissors, and a hot glue gun. If you want your flowers to stand up in a vase, you’ll need some sort of wire as well. Cut out the petals in your desired shape, layer them on top of each other for a three-dimensional effect, and attach them with a little hot glue. You can make a DIY paper flower bouquet out of all one color and type of flower or vary them for more of a wildflower look.
Visit The Spruce Crafts’ page “12 DIY Paper Flower Tutorials” for details on how to make a range of flowers for arrangements. Our favorites are the giant peonies and the centerpiece with a burlap vase—both are beautiful statement pieces!
Looking for more fun senior DIY projects? Visit our news page! And be sure to check out NORA’s site for news on issues impacting America’s seniors. Follow us on Twitter and Facebook today for more updates!


