Floating shelves are a trend that seems to be here to stay. Everywhere from bathrooms to kitchens, these simple but elegant shelves make a perfect way to display your favorite items. And you don’t have to be a master carpenter to put them together. Instead, this simple DIY floating shelves project is the perfect way to add this fun style to your home.
We love floating shelves because of their simplicity. You can’t see any brackets or mounts, so there’s nothing to distract from the items you’re displaying. Put two in your bathroom to hold towels, or put your mug collection on a couple in your kitchen—no matter where you use these shelves, they’ll make an impact.
DIY Floating Shelves Instructions
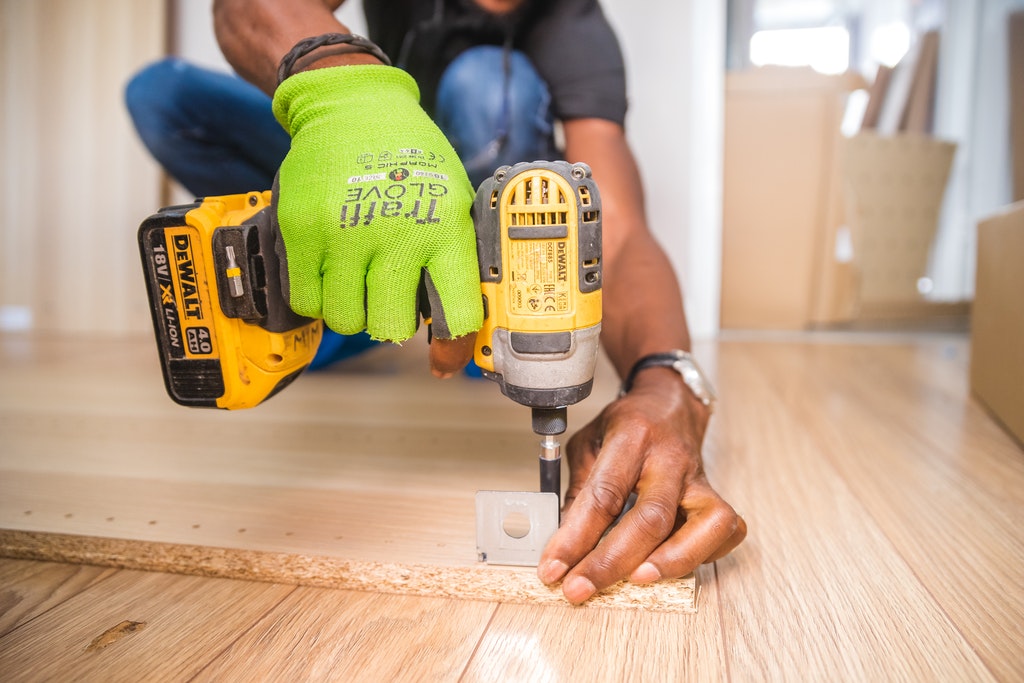
If you have some basic tools, this DIY floating shelves project is perfect for you. You’ll need to get lumber in the lengths you want and gather together wood glue, finish nails, a sander, a level, a tape measure, and safety glasses before getting started.
Cutting your wood down to size is the first step. Shorter shelves can make an impact in small spaces, while longer shelves can work as general storage. Then, depending on the shape you’re making, you’ll need to put your shelves together using wood glue and nails.
You can find full instructions for a variety of DIY floating shelves projects at The Spruce.
Visit our News Page for more fun DIY projects. And connect with NORA on Twitter and Facebook for all of our updates!